Apple has released mps backend ^1^ which boosts Macs that have AMD GPU or M series processor runs an LLM locally. This tutorial gives step-by-step instructions to run the ChatGLM2-6B model on a 16-inch MacBook Pro (2019) with 32G memory and AMD Radeon Pro 5500M 4 GB GPU.
Build the enviroment
Install openMP
curl -O https://mac.r-project.org/openmp/openmp-12.0.1-darwin20-Release.tar.gz
sudo tar fvxz openmp-12.0.1-darwin20-Release.tar.gz -C /
The contained set of files is the same in all tar balls:
usr/local/lib/libomp.dylib
usr/local/include/ompt.h
usr/local/include/omp.h
usr/local/include/omp-tools.h
Install the latest version of Conda
You can use either Anaconda or pip. Please note that environment setup will differ between a Mac with Apple silicon and a Mac with Intel x86.
Use the PyTorch installation selector on the installation page to choose Preview (Nightly) for MPS device acceleration. The MPS backend support is part of the PyTorch 1.12 official release. The Preview (Nightly) build of PyTorch will provide the latest mps support on your device.
Download Anaconda
For Apple silicon:
curl -O https://repo.anaconda.com/miniconda/Miniconda3-latest-MacOSX-arm64.sh
sh Miniconda3-latest-MacOSX-arm64.sh
For x86:
curl -O https://repo.anaconda.com/miniconda/Miniconda3-latest-MacOSX-x86_64.sh
sh Miniconda3-latest-MacOSX-x86_64.sh
You can use preinstalled pip3, which comes with macOS. Alternatively, you can install it from the Python website or the Homebrew package manager.
Install PyTorch-Nightly
Before install all the dependencies, create a new conda env:
# create the env named llm
conda create --name llm
# enter the env that just created
conda activate llm
Now we are in the env, start installing. You can choose to use conda or pip.
Using conda:
conda install pytorch torchvision torchaudio -c pytorch-nightly
Or using pip:
pip3 install --pre torch torchvision torchaudio --extra-index-url https://download.pytorch.org/whl/nightly/cpu
Or building from source:
Building PyTorch with MPS support requires Xcode 13.3.1 or later. You can download the latest public Xcode release on the Mac App Store or the latest beta release on the Mac App Store or the latest beta release on the Apple Developer website. The USE_MPS environment variable controls building PyTorch and includes MPS support.
To build PyTorch, follow the instructions provided on the PyTorch website.
Verify
You can verify mps support using a simple Python script:
import torch
if torch.backends.mps.is_available():
    mps_device = torch.device("mps")
    x = torch.ones(1, device=mps_device)
    print (x)
else:
    print ("MPS device not found.")
The output should show:
tensor([1.], device='mps:0')
Install other requirements
pip install protobuf transformers==4.30.2 cpm_kernels gradio mdtex2html sentencepiece accelerate
Download, build & run
Download model files first. The model files are:
-
q4_0: 4-bit integer quantization with fp16 scales.q4_1: 4-bit integer quantization with fp16 scales and minimum values.q5_0: 5-bit integer quantization with fp16 scales.q5_1: 5-bit integer quantization with fp16 scales and minimum values.q8_0: 8-bit integer quantization with fp16 scales.f16: half precision floating point weights without quantization.f32: single precision floating point weights without quantization.
Then download chatglm.cpp model by using:
git clone --recursive https://github.com/li-plus/chatglm.cpp.git && cd chatglm.cpp
Build and run:
If you have a CUDA GPU, you should use:
cmake -B build -DGGML_CUBLAS=ON && cmake --build build -j
On Mac, you can use:
cmake -B build -DGGML_METAL=ON && cmake --build build -j
Only use the CPU:
cmake -B build
cmake --build build -j --config Release
Then you are ready to try:
# replace the 'chatglm-ggml.bin' to the file you use
./build/bin/main -m chatglm-ggml.bin -p 你好
# 你好👋!我是人工智能助手 ChatGLM-6B,很高兴见到你,欢迎问我任何问题。
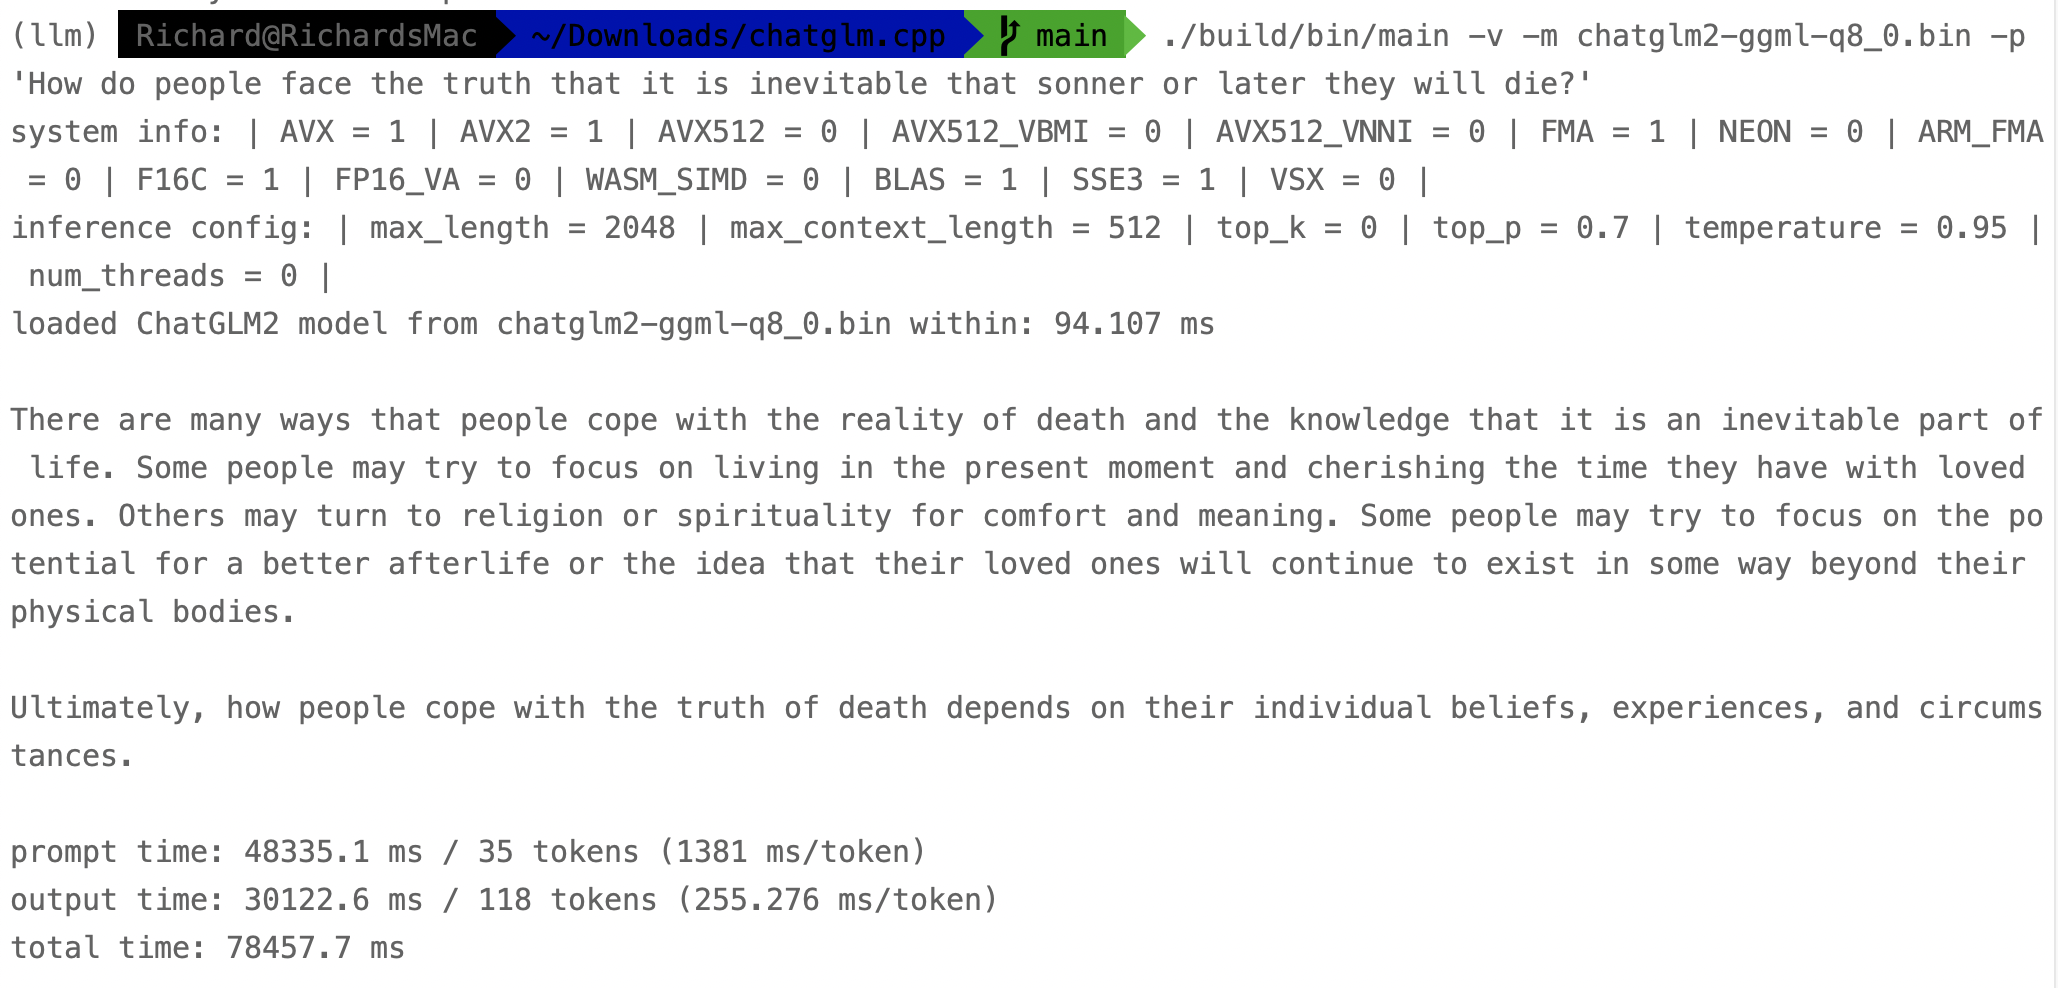
Test the model in English:

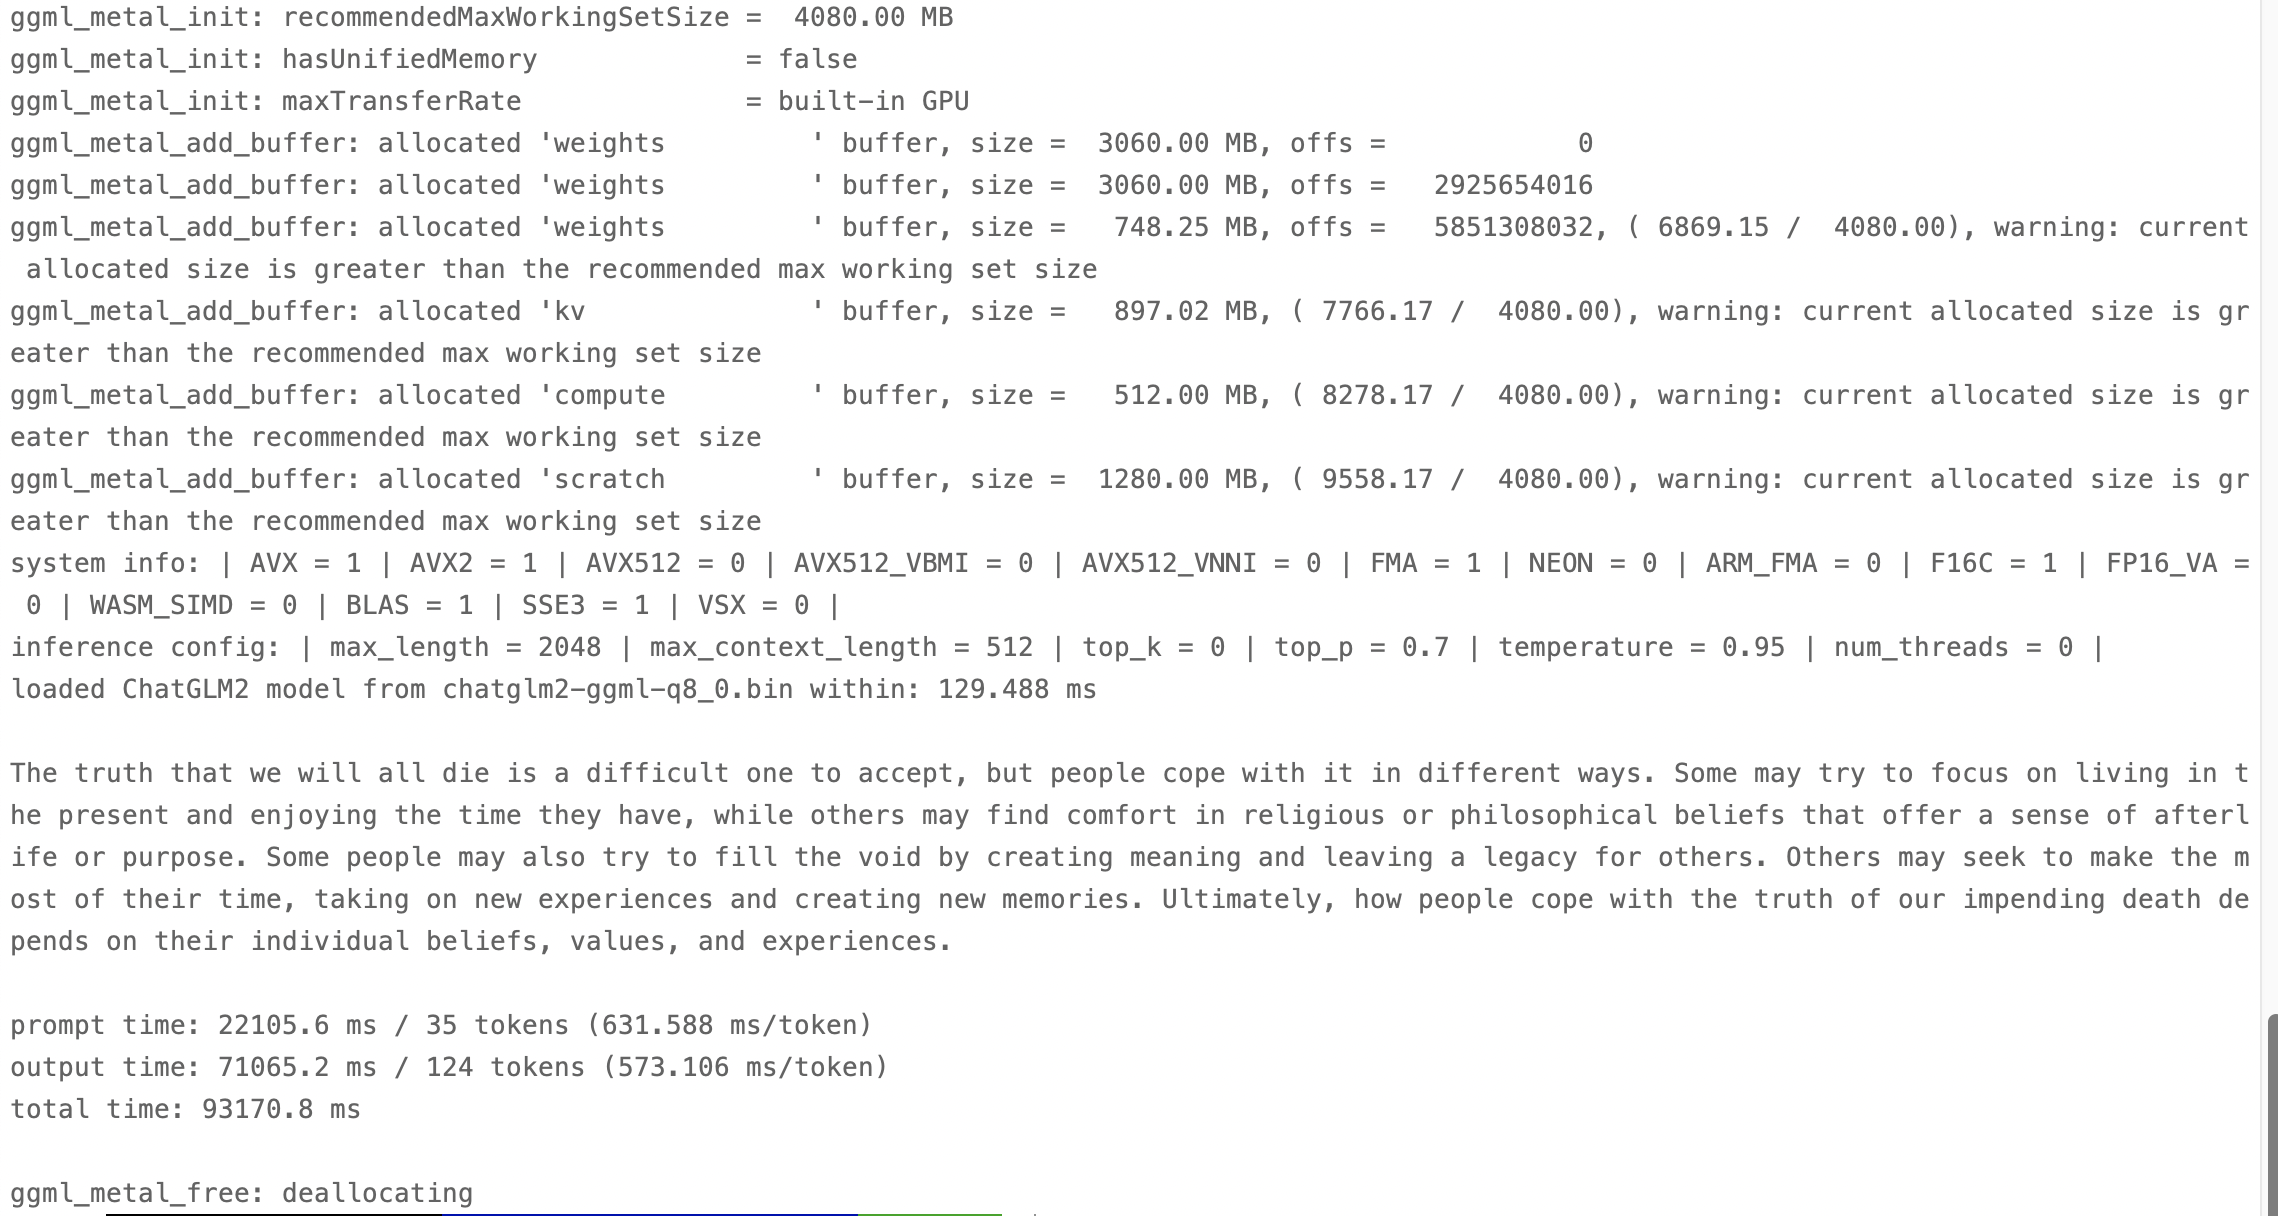
Input the same question under the MPS backend to enable my GPU in the task:

It shows that MPS backend’s prompt time is faster than only use CPU. However, MPS backend’s output time is slower than only use CPU.
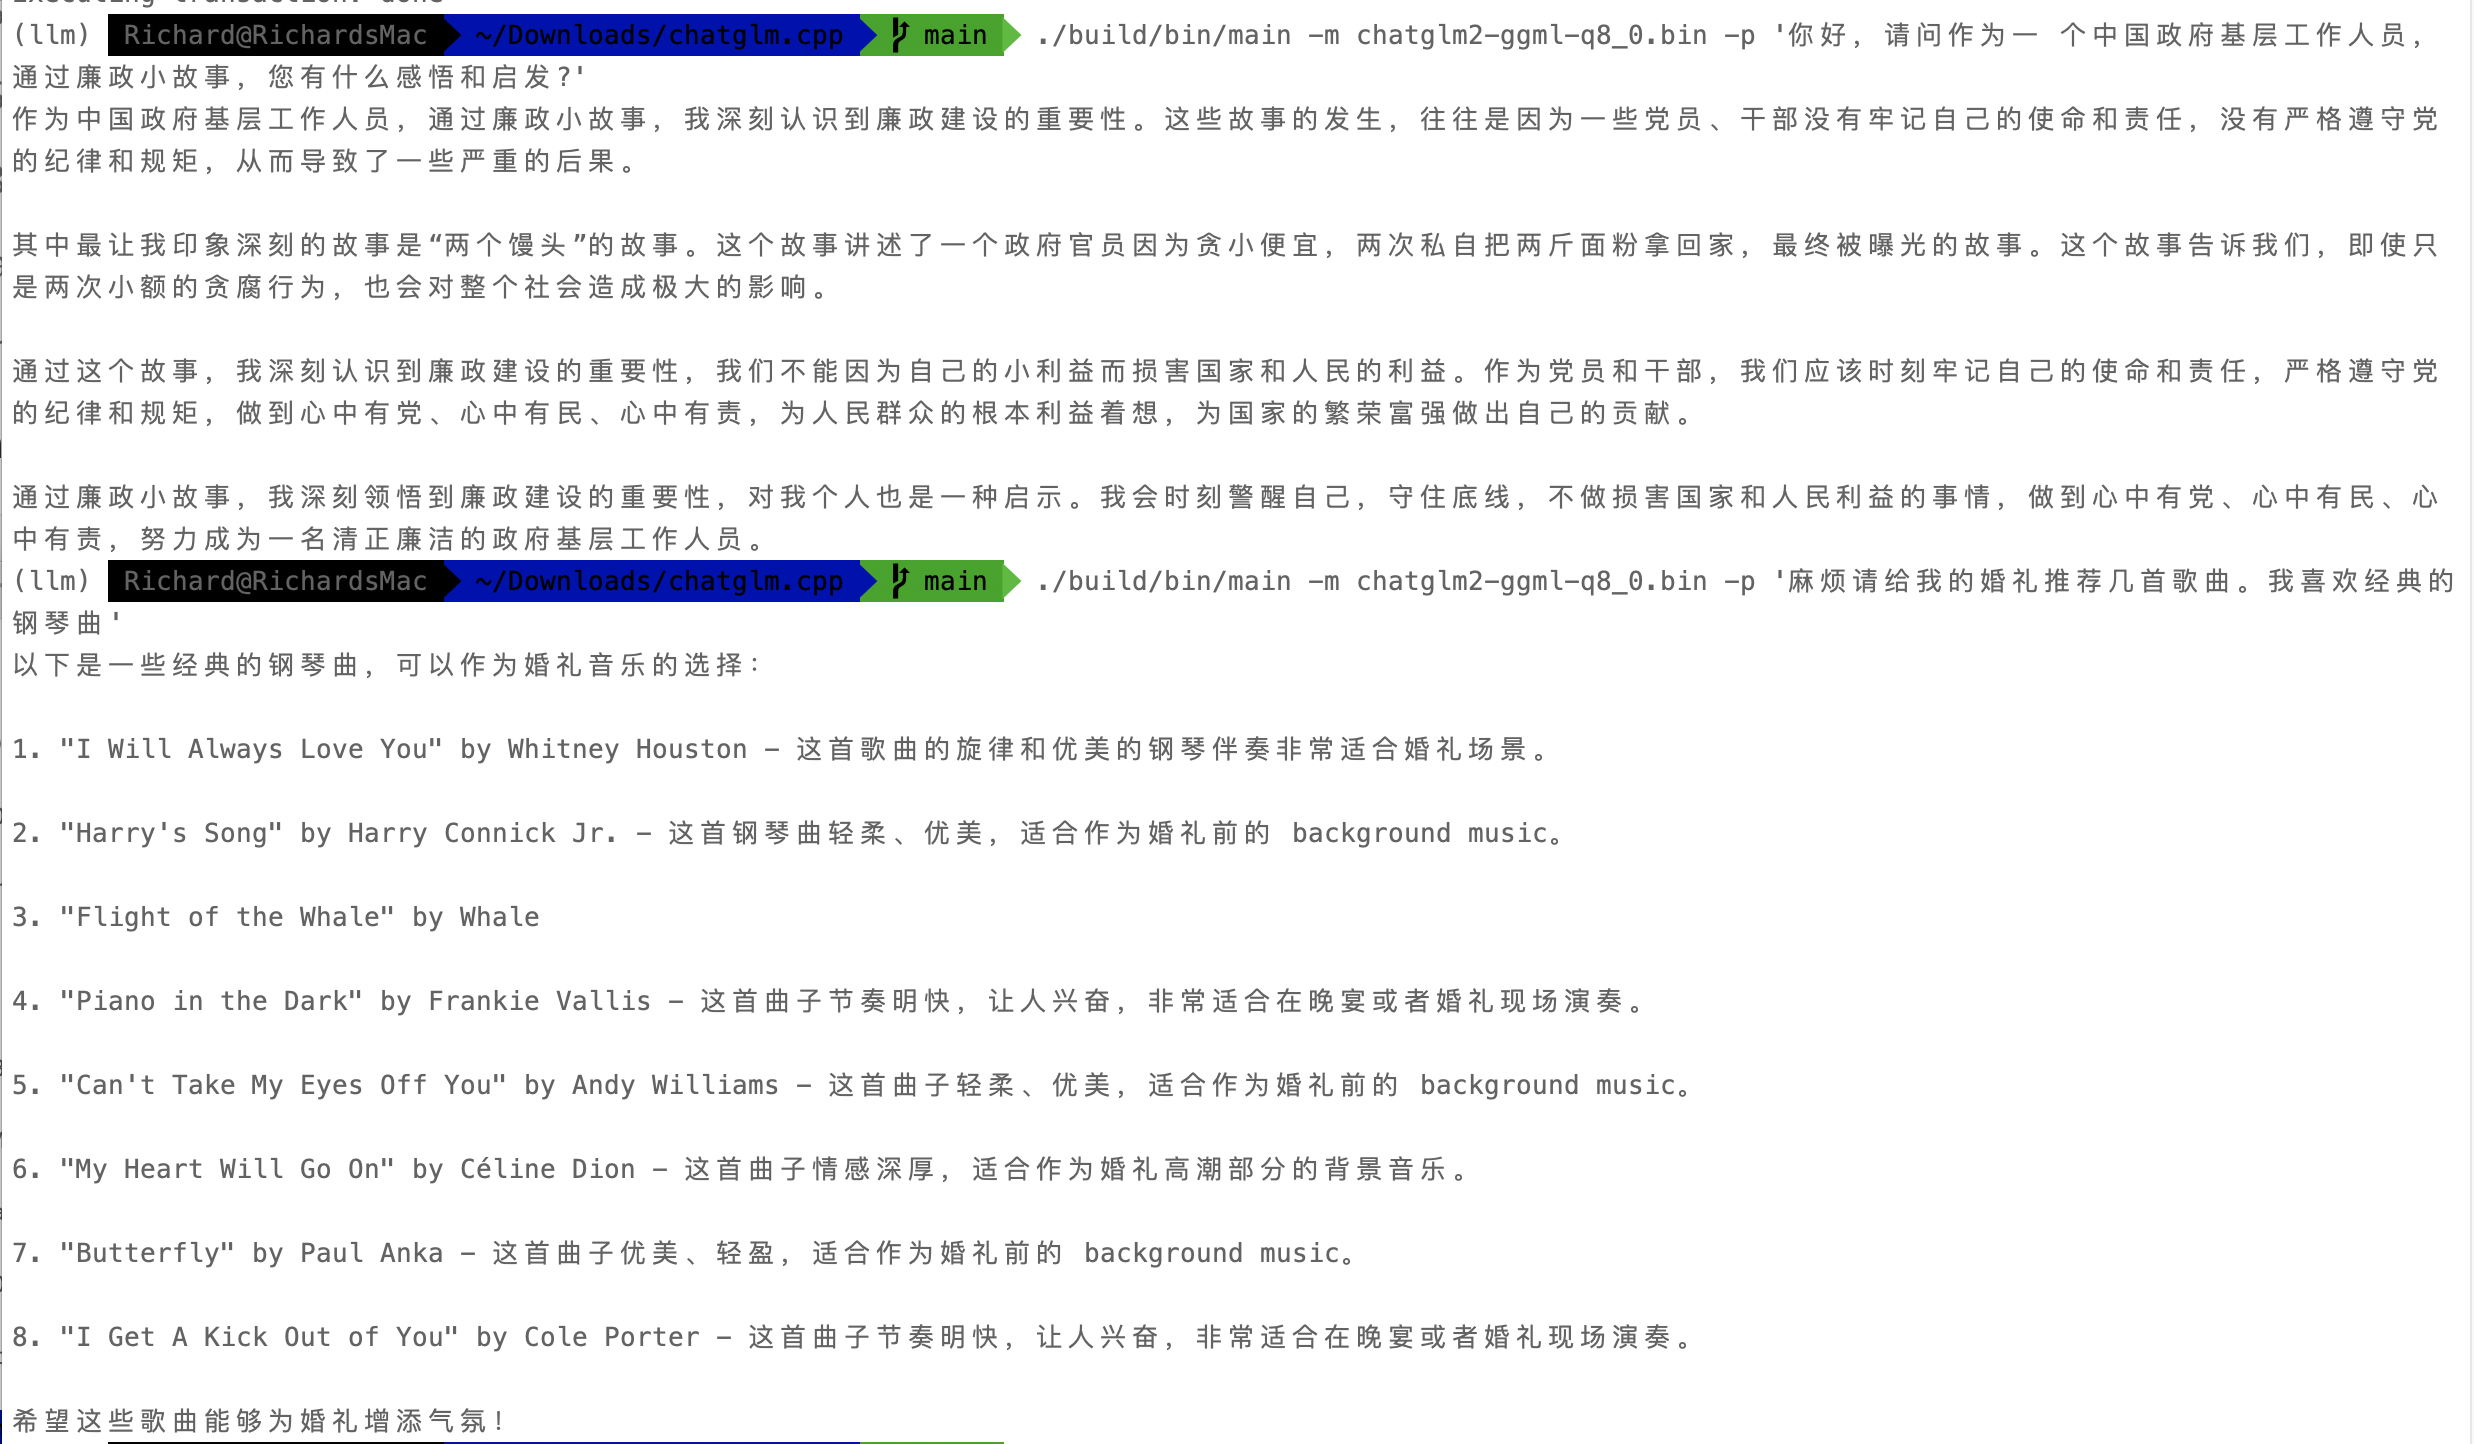
Test the model’s Chinese capability:
