What’s the goal?
To run YOLOv5 on jetson developer kit to achieve real-time object detection.
The following instructions has been tested on:
- Jetson nano
- Jetson Xavier NX
What you need:
- A Jetson nano (If you are using other Jetson developer kit from Nvidia, I am sure you can take this as reference as well.)
- A SD card and power suply which meets the needs.
- Another computer or laptop with internet connection and built-in SD card slot or an adapter.
- A monitor with HDMI port, a USB mouse and a USB keyboard.
Firsty, to start the system on Jetson developer kit, write image to microSD card.
Download the official image file and write it in the microSD card. You can go check Nvidia official set up tutorial for more information.
Setting up the enviroment:
Install virtualenv and virtualenvwrapper:
# install pip first since there is no pip pre-installed
sudo apt-get install python3-pip
sudo apt-get install python3-setuptools
python3 -m pip install --upgrade pip setuptools wheel
sudo pip3 install virtualenv virtualenvwrapper
You can also enter administrator mode to avoid typing sudo all the time by using:
sudo -i
Modify the enviroment variable:
# Install an editor first
#you can also choose other editor
sudo apt-get -y install nano
mkdir $HOME/.virtualenvs
nano ~/.bashrc
# Add following into the file
export WORKON_HOME=$HOME/.virtualenvs
export VIRTUALENVWRAPPER_PYTHON=/usr/bin/python3
source /usr/local/bin/virtualenvwrapper.sh
# After this, reopen the terminal
Set virtual developing enviroment:
mkvirtualenv yolov5
# A virtual developing enviroment named "yolov5" has been created
Start working on the virtual developing enviroment you just created:
workon yolov5
# If "(yolov5)" appeared in front of your username, this means it worked
Download YOLOv5:
There is one tricky part to run YOLOv5 on Jetson developer kit which is you MUST USE YOLOV5 V3.1 otherwise it won’t work based on my experiments. However, I also found people posted that YOLOv5 master branch worked well on Jetson as well. If you want to try the YOLOv5 master branch:
# install git
apt-get install git-all -y
git clone https://github.com/ultralytics/yolov5.git
# Or, you can just download YOLOv5 v3.1 from their website
# and copy the folder into the virtual enviroment
I used another method and it worded well. First download YOLOv5 v3.1 from YOLOv5 v3.1 offocial website and then copy to your vitual enviroment folder named yolov5.
Install all the softwares:
# check Jetpack version
apt-cache show nvidia-jetpack
# Install pytorch method 1
wget https://nvidia.box.com/shared/static/9eptse6jyly1ggt9axbja2yrmj6pbarc.whl -O torch-1.6.0-cp36-cp36m-linux_aarch64.whl
apt-get install python3-pip libopenblas-base libopenmpi-dev
pip3 install Cython
pip3 install numpy torch-1.6.0-cp36-cp36m-linux_aarch64.whl
If there are internet issues, try:
# Install pytorch method 2
apt-get install python3-pip libopenblas-base libopenmpi-dev
pip3 install Cython
pip3 install numpy
# Download torch-1.6.0-cp36-cp36m-linux_aarch64.whl first then
pip3 install torch-1.6.0-cp36-cp36m-linux_aarch64.whl
Install torchvision from source:
# If you used torch 1.6, you should use torchvision 0.7
apt-get install libjpeg-dev zlib1g-dev libpython3-dev libavcodec-dev libavformat-dev libswscale-dev
git clone --branch v0.7.0 https://github.com/pytorch/vision torchvision
cd torchvision
export BUILD_VERSION=0.7.0
python3 setup.py install
# If having problem here, go see key point 3 below
# This will take a while
cd ../
Install OpenCV:
#Link native OpenCV to the virtual enviroment
#find where the native OpenCV is
find / -name cv2
# It should be in /usr/lib/python3.6/dist-packages/cv2/python-3.6/
# You should find the .so file called 'cv2.cpython-36m-aarch64-linux-gnu.so'
ln -s /usr/lib/python3.6/dist-packages/cv2/python-3.6/cv2.cpython-36m-aarch64-linux-gnu.so ~/.virtualenvs/{your env}/cv2.cpython-36m-aarch64-linux-gnu.so
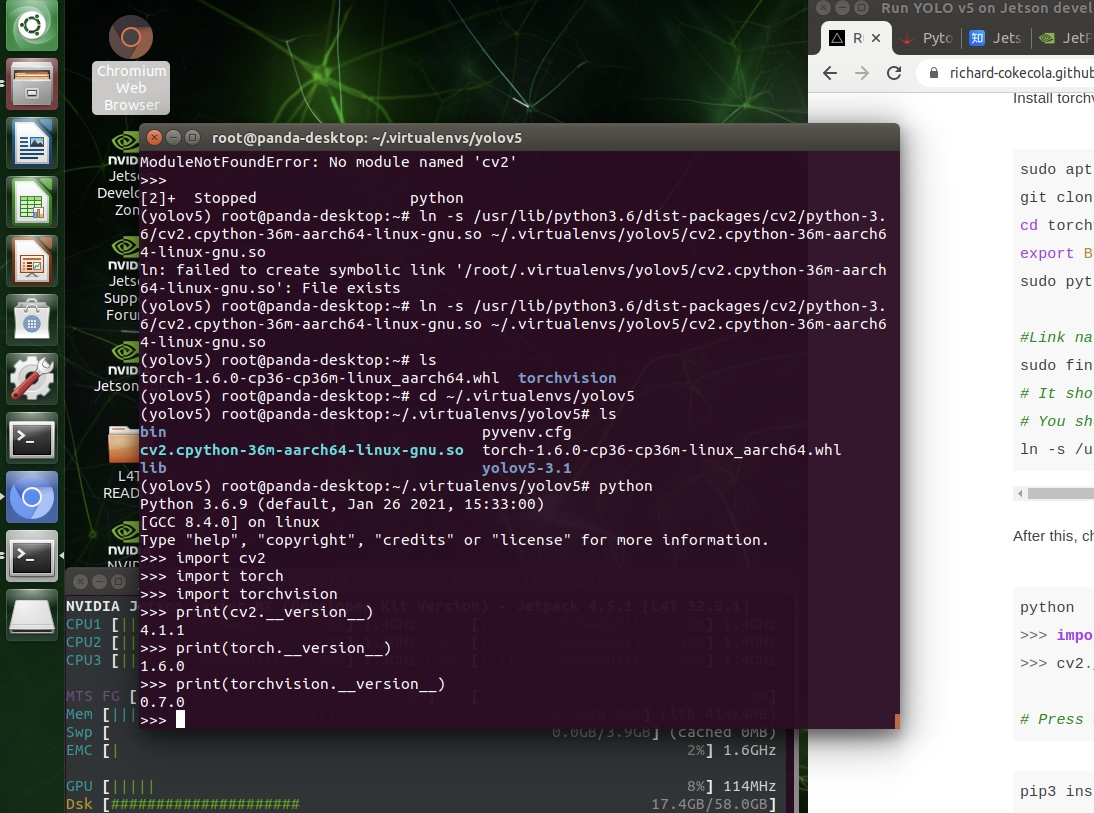
After this, check if the installation is succeed:
python
>>> import cv2
>>> import torch
>>> import torchvision
>>> print(cv2.__version__)
>>> print(torch.__version__)
>>> print(torchvision.__version__)

# Press Ctrl+z to exit python

pip3 install matplotlib pillow pyyaml tensorboard tqdm scipy
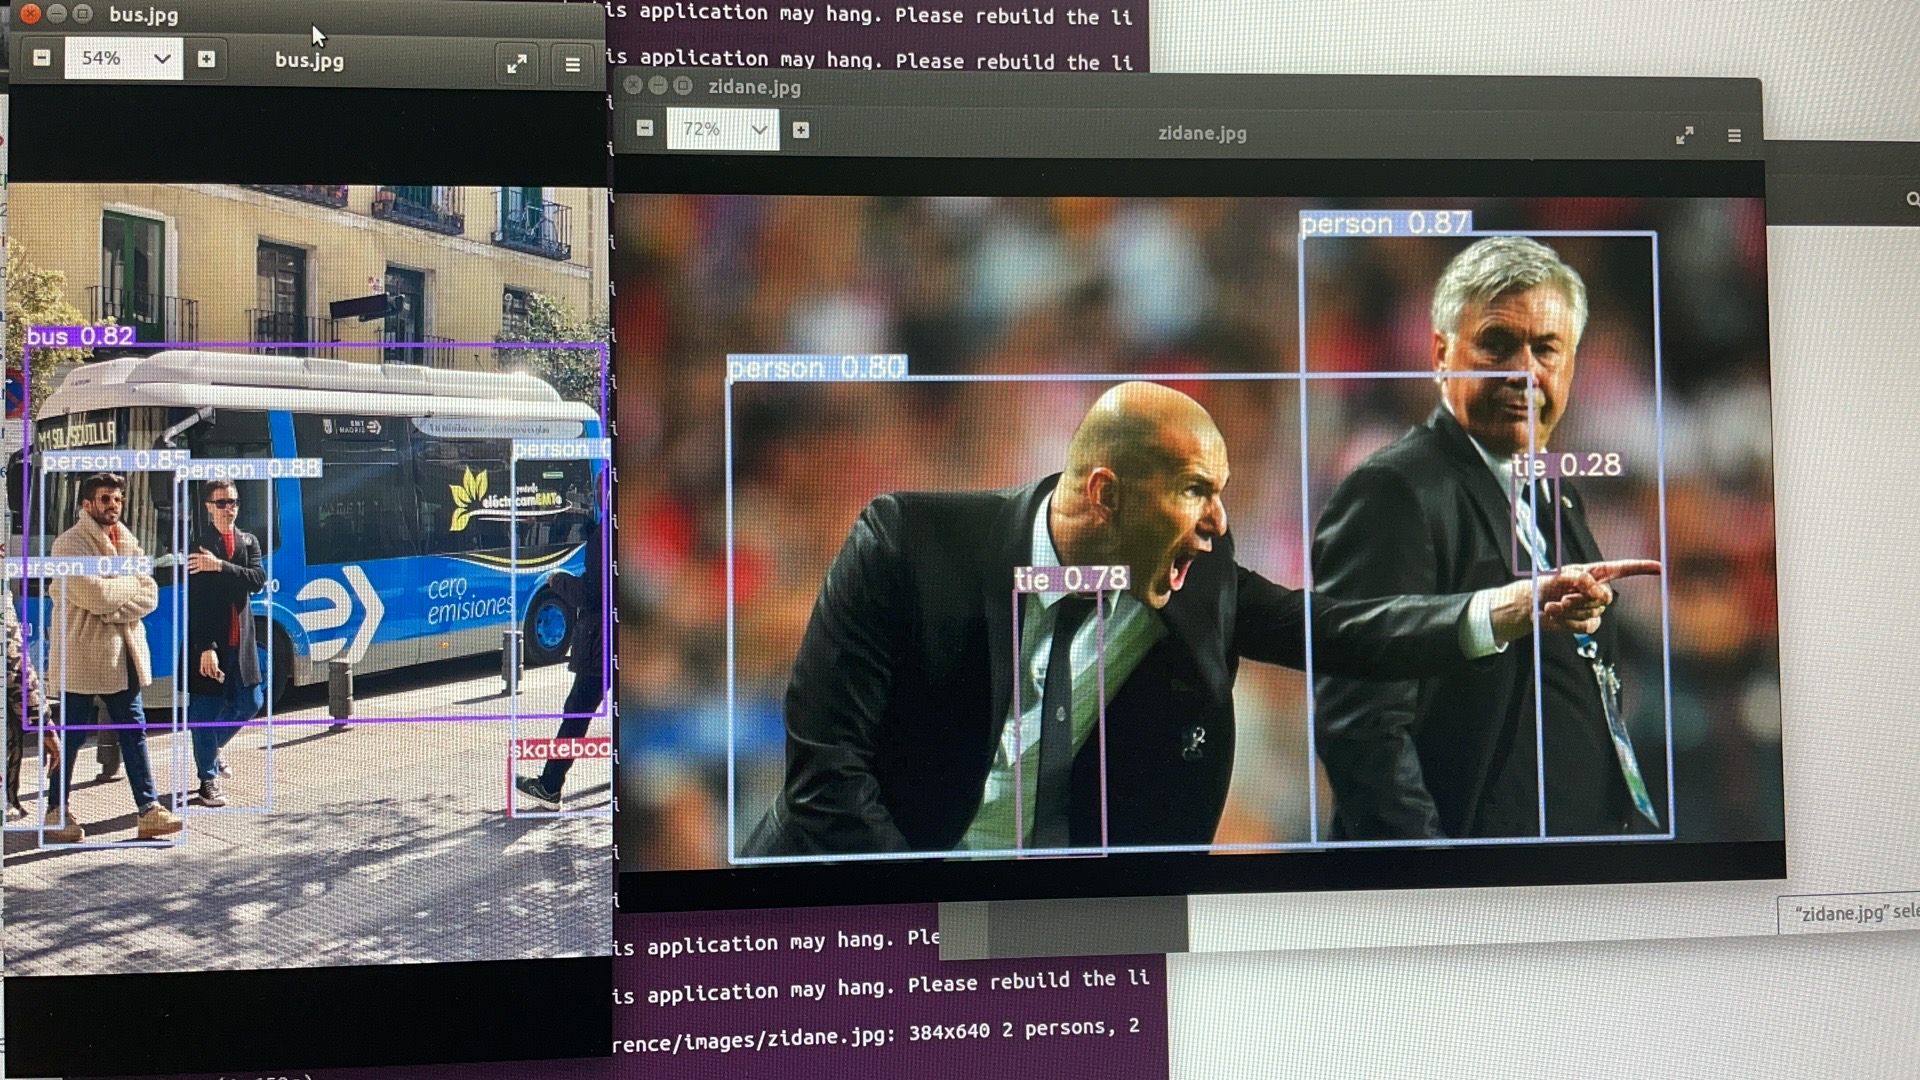
Now, you are ready to run YOLOv5! Let’s try running YOLOv5 on defauly images:
python detect.py --source inference/images/ --weights weights/yolov5s.pt
Congratulations!
Key points:
-
If you have internet issues leads to download failed, try again may help.
-
Use YOLOV5 v3.1
-
If you use Jetson Navier NX, this link might help to solve “illegal instruction (core dumped)” problem:
https://forums.developer.nvidia.com/t/illegal-instruction-core-dumped-xavier/166278
To be short, just install Numpy 1.19.4 by using:
pip install numpy==1.19.4
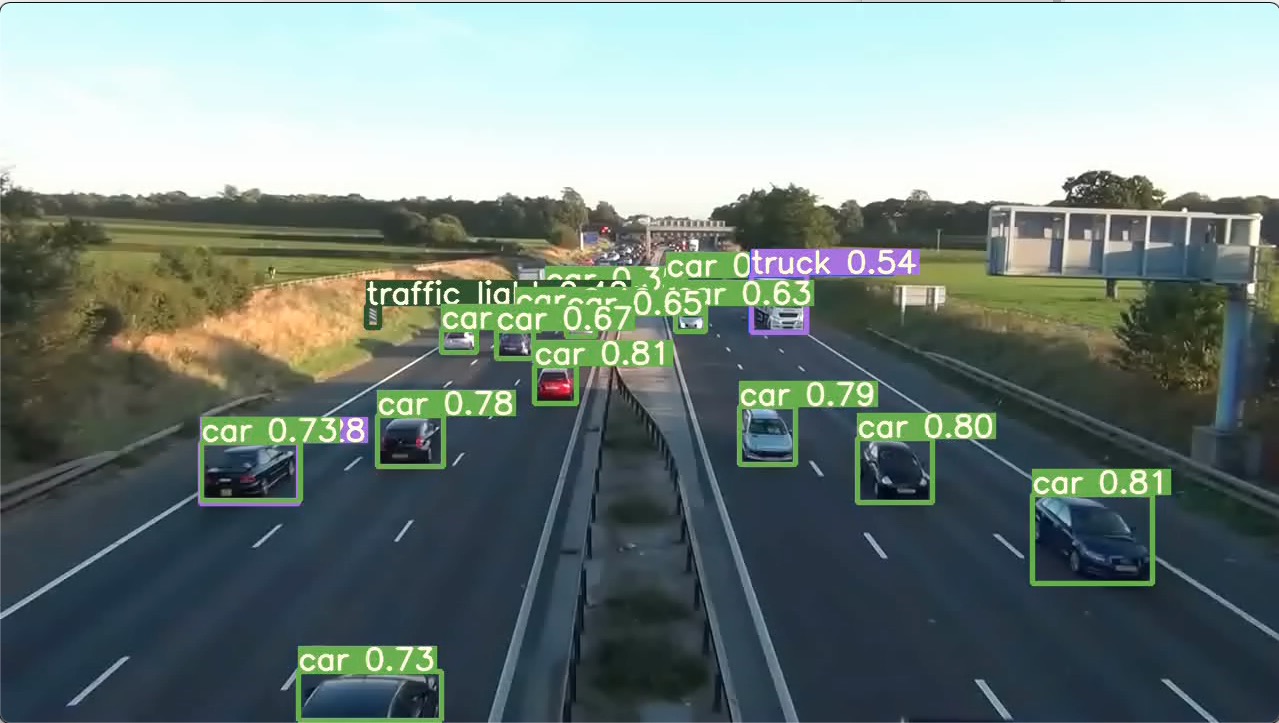
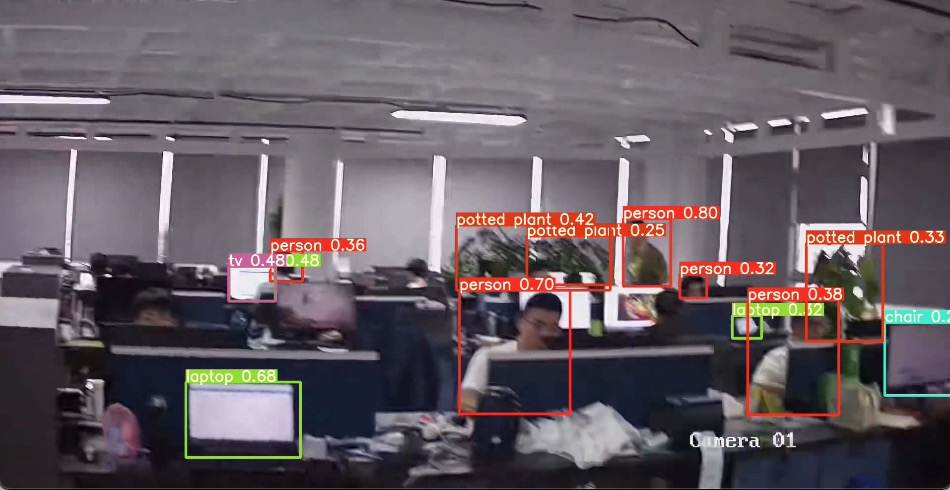
These are the outputs I got:
Run it on testing images in the project file:


References:
- Pytorch深度学习框架X NVIDIA JetsonNano应用-YOLOv5辨识台湾实时路况 https://www.rs-online.com/designspark/pytorchx-nvidia-jetsonnano-yolov5-1-cn
- How to Run YoloV5 Real-Time Object Detection on Pytorch with Docker on NVIDIA Jetson Modules https://www.forecr.io/blogs/ai-algorithms/how-to-run-yolov5-real-time-object-detection-on-pytorch-with-docker-on-nvidia-jetson-modules
- https://forums.developer.nvidia.com/c/agx-autonomous-machines/jetson-embedded-systems/jetson-nano/76
- Getting Started with Jetson Nano Developer Kit https://developer.nvidia.com/embedded/learn/get-started-jetson-nano-devkit
- Jetson Nano 入门教程3 - 必备软件安装Pytorch TensorFlow https://zhuanlan.zhihu.com/p/342504190
- https://forums.developer.nvidia.com/c/agx-autonomous-machines/jetson-embedded-systems/jetson-nano/76
- More method to install torchvision: https://shliang.blog.csdn.net/article/details/109862917
- YOLOv5 TensorRT Benchmark for Jetson AGX Xavier and NVIDIA Laptop https://www.forecr.io/blogs/ai-algorithms/yolov5-tensorrt-benchmark-for-jetson-agx-xavier-and-nvidia-laptop